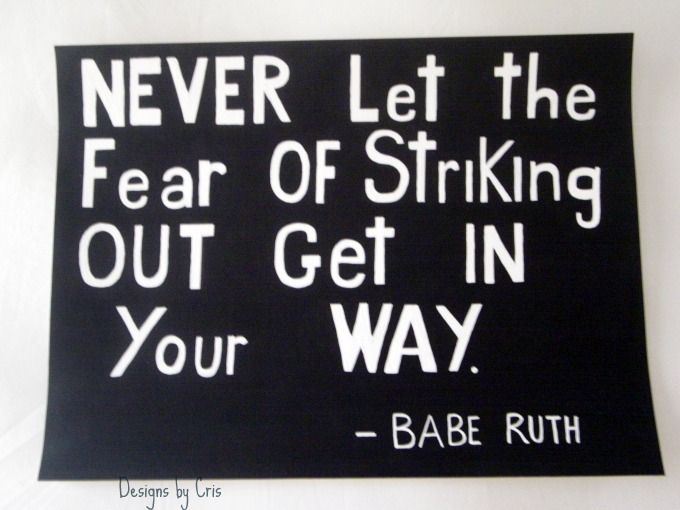
I am working on a centerpiece for Mops coming year...not quiet done, yet!
So far let me share, what I have worked on...
Here is the close-up of my low maintenance fishes :)
I will be posting the tutorial, when I am done.
Showing posts with label things that I have made. Show all posts
Saturday, May 26, 2012
Saturday, April 28, 2012
Easy Centerpiece
Pom-Pom Centerpiece
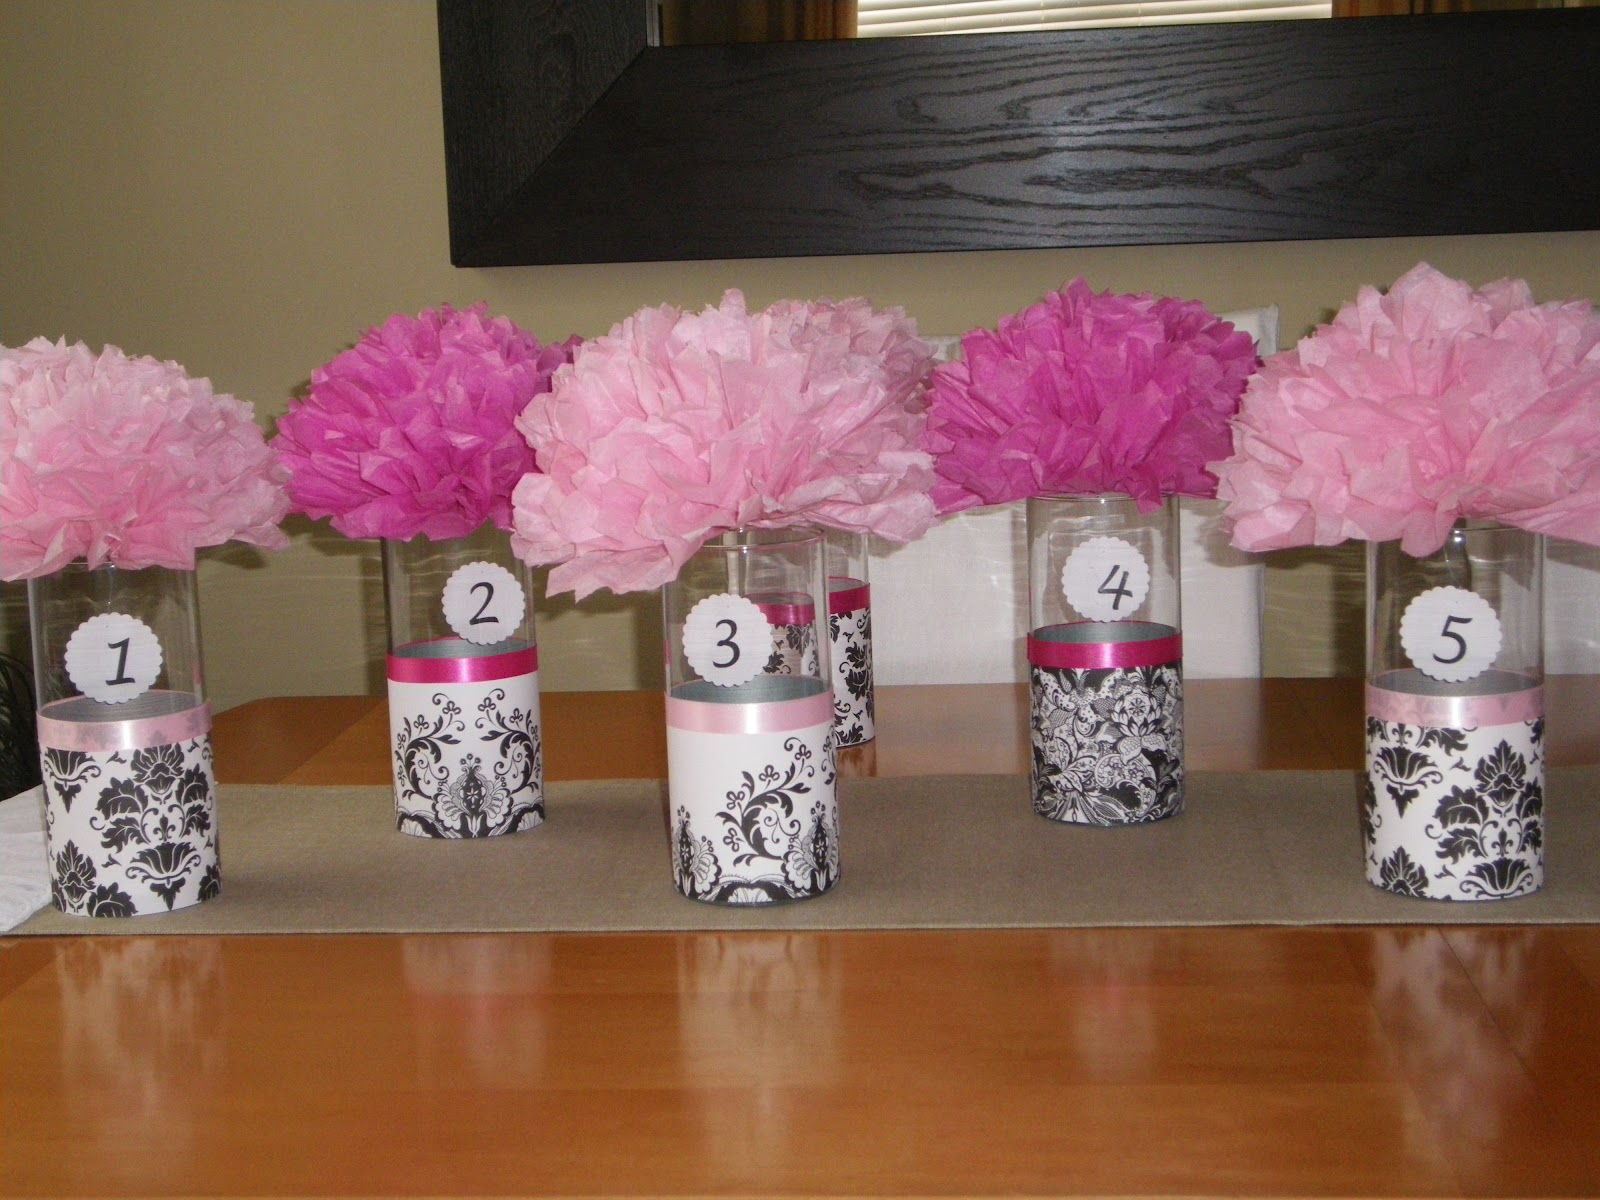
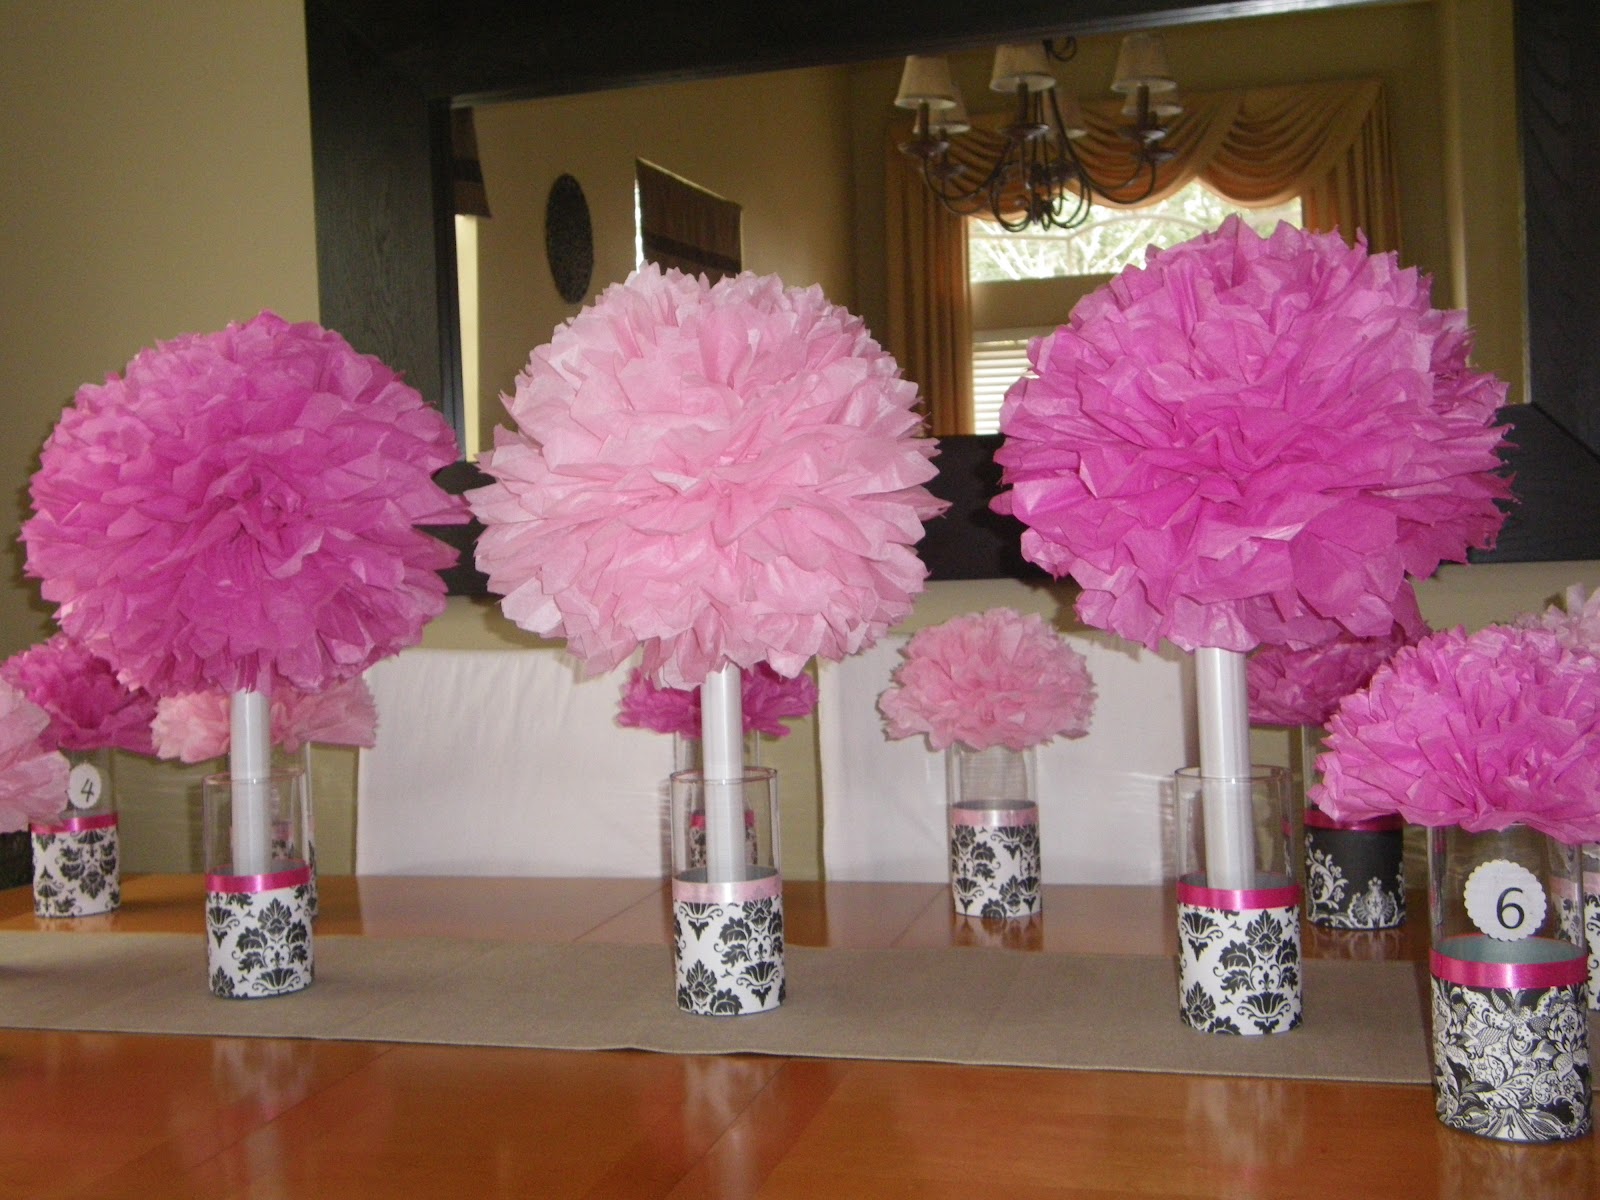
As I am preparing to do centerpieces for our Women's Ministry Event at Church. It's a pom-pom explosion...yet very girly, don't you think?
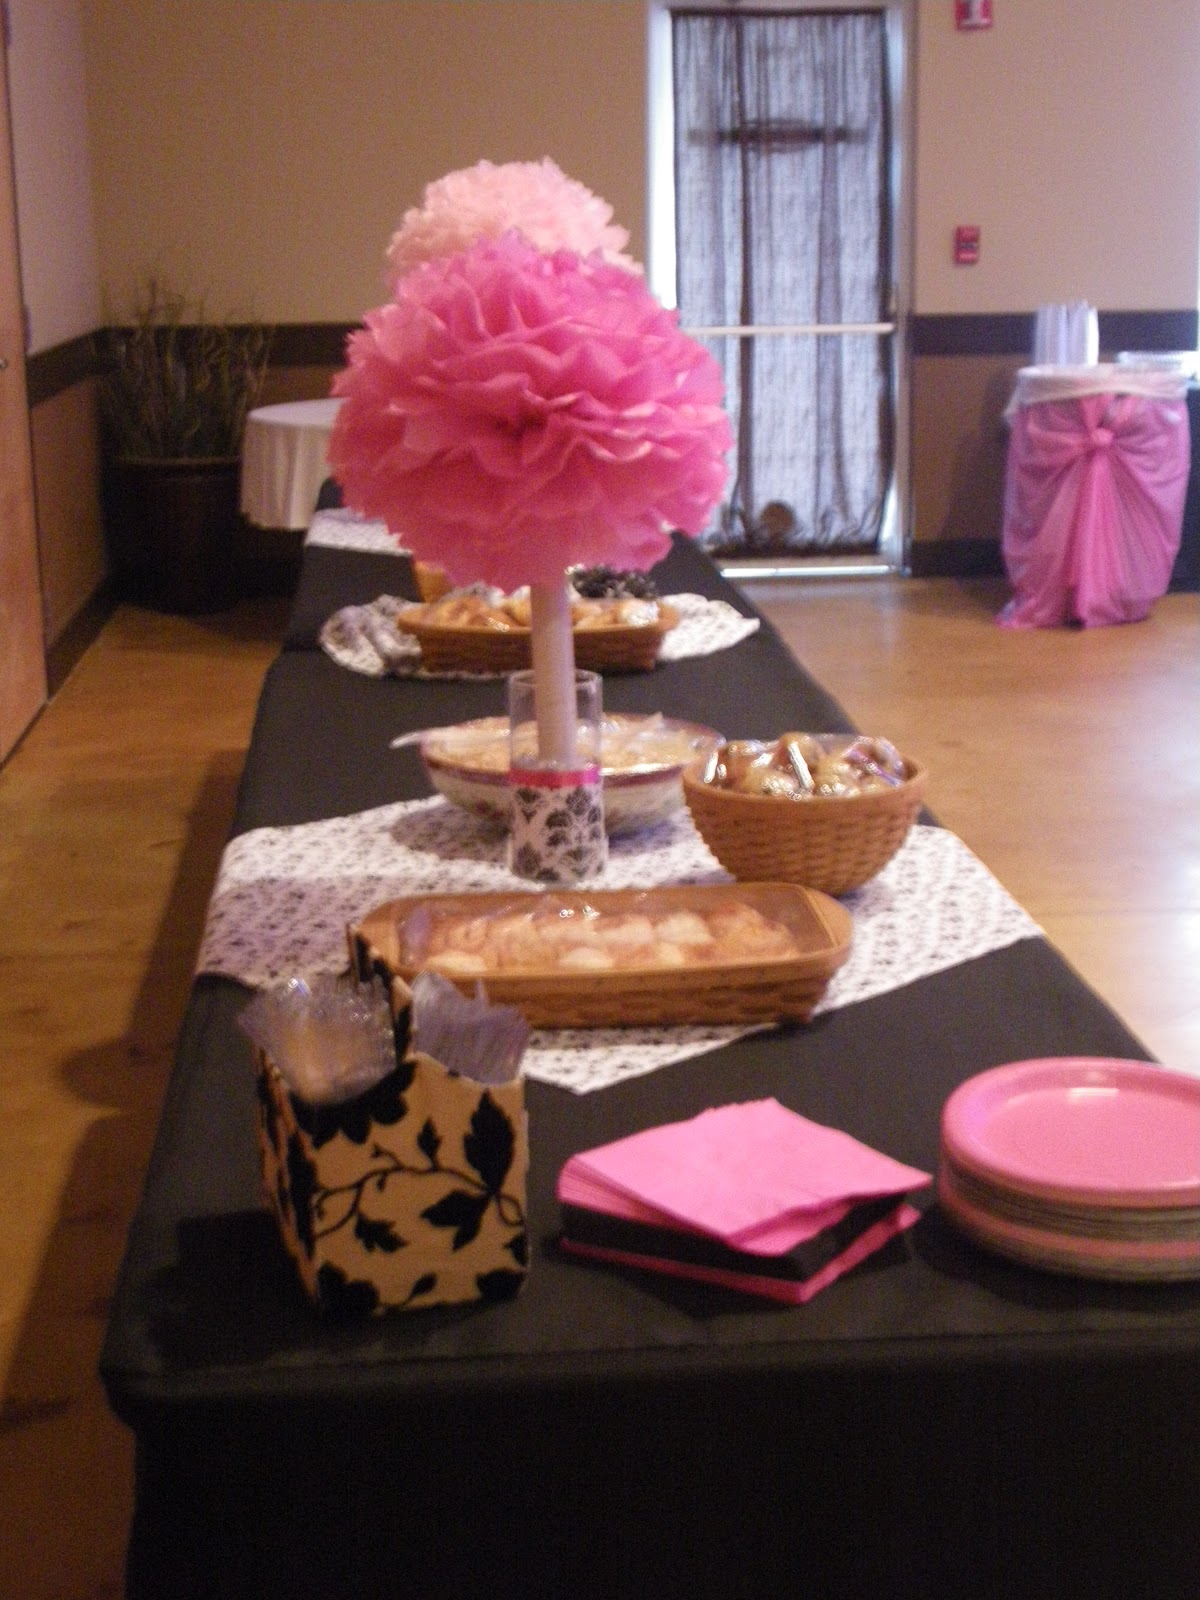
The plan was to prepare for 12 tables and 3 pieces for the food table ( I decided to do a topiary for it). Holding the big Pom-Pom I recycled the some roll of wrapping paper insert. " Be creative with stuff you have around the house".
For this project I used LOTS of tissue paper, as you can see it!
Cylinders vases, blk/wte floral scrapbook paper, ribbon and double sided tape.
First the idea of the decorated vases was taking from pinterest, i just changed a bit! Make your self a cup of tea or coffee :) and start making your pom-pom.
I made a scallop tag table numbers that hangs from the bottom of the pom-pom. Inside of the vase will be a "Battery Operated tea light".
The cost of this project, will be around $40. This is for a total of 15 centerpieces (including: vases, scrapbook paper and tissue paper).
Tuesday, February 28, 2012
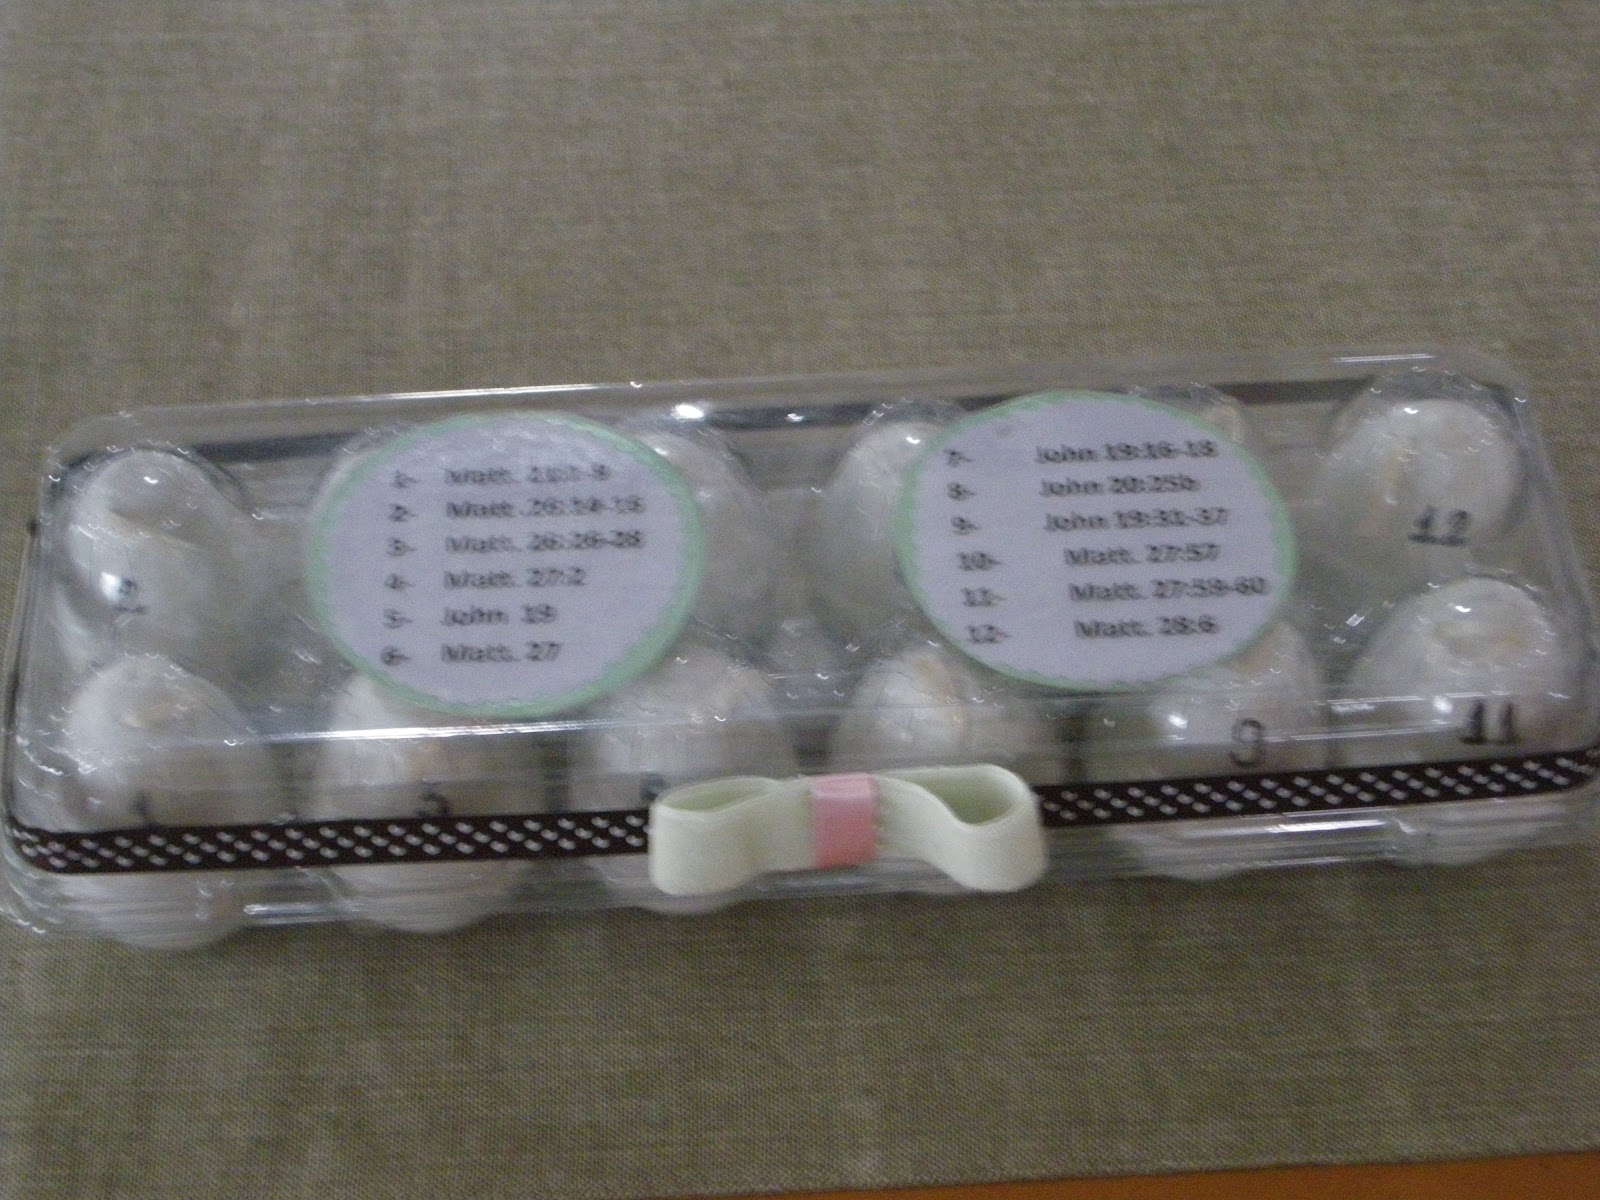
Resurrection Easter Eggs
I started this project by decorating an egg carton and gluing some ribbon and embellishment, on top I add the eggs number with the corresponding bible verse for the day. You can be very creative with this...paint, decoupage, sticker, and so much more....
I purchase the colorful plastic eggs ( you could leave it the way they are), but I wanted a white realistic look, so I spray painted with white.
After they were well dried I numbered each one with a sharpie and added a ribbon loop (you don't have to do this, I just want to hang my eggs as we open it daily :)
Now is time to get your supplies to fill each egg as you tell the" Easter Story". There are so many ideas online, this is what I decided to use it.
1. Palm Branch - Matt. 21:1-9
2. Coin - Matt .26:14-16
3. Cup - Matt. 26:26-28
4. Knotted Rope - Matt. 27:2
5. Whip - John 19
6. Crown of Thorns - Matt. 27
7. Cross - John 19:16-18
8. Nail - John 20:25b
9. Spear - John 19:31-37
10. Linen - Matt. 27:57
11. Stone - Matt. 27:59-60
12. Empty - Matt. 28:6
Friday, January 6, 2012
Candy Bouquet
Tuesday, October 11, 2011
Sunday, September 4, 2011
Utensil Holder Makeover
I love to play with texture and colors.... and for some reason I love brown and white combination.
One of my latested crafts was refinishing my old utensil holder. And that's what my finished makeover looks like.
I used:
my old utensil holder, you can use any pot or vase, that you have around your house.
2 colors os Suede Lace, you can find at any craft store. (Michael's has a bigger roll of 25 yards). -- don't forget to use your coupon.
Glue, you can use hot glue, but for this project I use Weldbond.
How to do it:
Start from the bottom, gluing the first part of suede lace in place. Then keep gluing the lace all the way around.
I just did the outside of it, but you could finish your holder off by wrapping the lace around the inside, it’s up to you.
I love the simplicity of it. I had some left over lace and i decided to do some embellishment with it ( be creative!!).
If i get tired of it, i just turn it around and have a simple look.
The natural white color of the suede is just so beautiful.
Have fun creating....I would love to see pics of your project.
One of my latested crafts was refinishing my old utensil holder. And that's what my finished makeover looks like.
I used:
my old utensil holder, you can use any pot or vase, that you have around your house.
2 colors os Suede Lace, you can find at any craft store. (Michael's has a bigger roll of 25 yards). -- don't forget to use your coupon.
Glue, you can use hot glue, but for this project I use Weldbond.
How to do it:
Start from the bottom, gluing the first part of suede lace in place. Then keep gluing the lace all the way around.
I just did the outside of it, but you could finish your holder off by wrapping the lace around the inside, it’s up to you.
I love the simplicity of it. I had some left over lace and i decided to do some embellishment with it ( be creative!!).
If i get tired of it, i just turn it around and have a simple look.
The natural white color of the suede is just so beautiful.
Have fun creating....I would love to see pics of your project.
Wednesday, August 31, 2011
Starting a New Project
Sometimes, motivating yourself to get going is the hardest thing about starting a project. For me going to the point of no returning pushed me me to begin.
"You can look at any project as a work; think it's fun. The trick is to know your limits, but remember to give yourself some credid! You can do a lot more than you think."
Always do some research from books and demostrations, then use your brain and your hands. :) Above all be proud of all your efforts.
"You can look at any project as a work; think it's fun. The trick is to know your limits, but remember to give yourself some credid! You can do a lot more than you think."
Always do some research from books and demostrations, then use your brain and your hands. :) Above all be proud of all your efforts.
This is a Subway Sign, that I Hand Painted on a Canvas Sheet.
Tuesday, August 30, 2011
Finding the Perfect Piece to Decorate
I like to invest in some pieces, that are beautiful and versatile.
And I want to share one of them with you!
I love the products from Willow House. And at Heather's Wedding, we use the "Vintage Spiral Stand" to display their engagement pictures at the table where the guests left their wishes to the Bride and Groom.
It was perfect for the occasion...
This courtesy pictures are from Ashley Stone Photography.
And I am not affiliated with Willow House, I just love their products.
Saturday, August 27, 2011
Wedding Props
Make your own Special Ocasion Props.
For the I do ...me too...Sign I used:
2 colors cardstock;
vinyl letters (red);
candy sticks( that's what I had arround..) and hot glue gun.
Simple..yet elegant!
For the mouth and mustache, I used:
Hot pink and red cardstock;
black felt;
candy sticks ( that I had arround..) and hot glue gun.
All the guests had a great time with all the props.
The above pictures are courtesy of Ashley Stone Photography,
ashley stone photography, ck out her amazing work!!
I also made bowtie and black hats Props.
made of scrapbook papers.
I hope you can be inspired and make your own props
If you have any questions, please contact me.
Thursday, June 23, 2011
Handmade Canvas Rug
This one is a one of a kind Rug!! I decide to paint one using an canvas cloth, that you can find on the paint isle at any hardware store. Just add some love and patience!!! This is not a quick project.
If you have any question, please contact me.
| Canvas Rug |
| This Rug always makes a conversation piece. |
Subscribe to:
Posts (Atom)